Hello there! It's my turn again to share something on The Bug Bytes blog! I must say.....I have had this on my mind for weeks! And could not wait to do this post! Thanks so much Pam for letting me post on your blog! I have much to share.....hopefully you will find it quite interesting and fun! About 2 months ago I took an art journaling course and loved it! One of the things you can use is stencils.....well I could not afford to buy everything so I had to be creative. I had never cut stencils with the cricut but thought hmmm.....there are so many designs that would make cool stencils! So I got to work and found Provocrafts stencil material and also Plaids. Provocrafts has a repositional sticky on the back which is excellant if you are stenciling on walls and such but is not easy to find without ordering online. I did find Plaids stencil material at Walmart....easy! I like the way they both cut but I must say I am more partial to Plaids. For all my cuts the settings on my machine were the same......Multi cut 3, Pressure high, speed medium to low and I did find that the deep cut blade set at 6 works best for my machine.

Here is a photo of both.
Any way pick your designs{which was quite hard.....too many!} Lol And then cut....here are just a few and notice the positive and the negative images....you will see both used today.
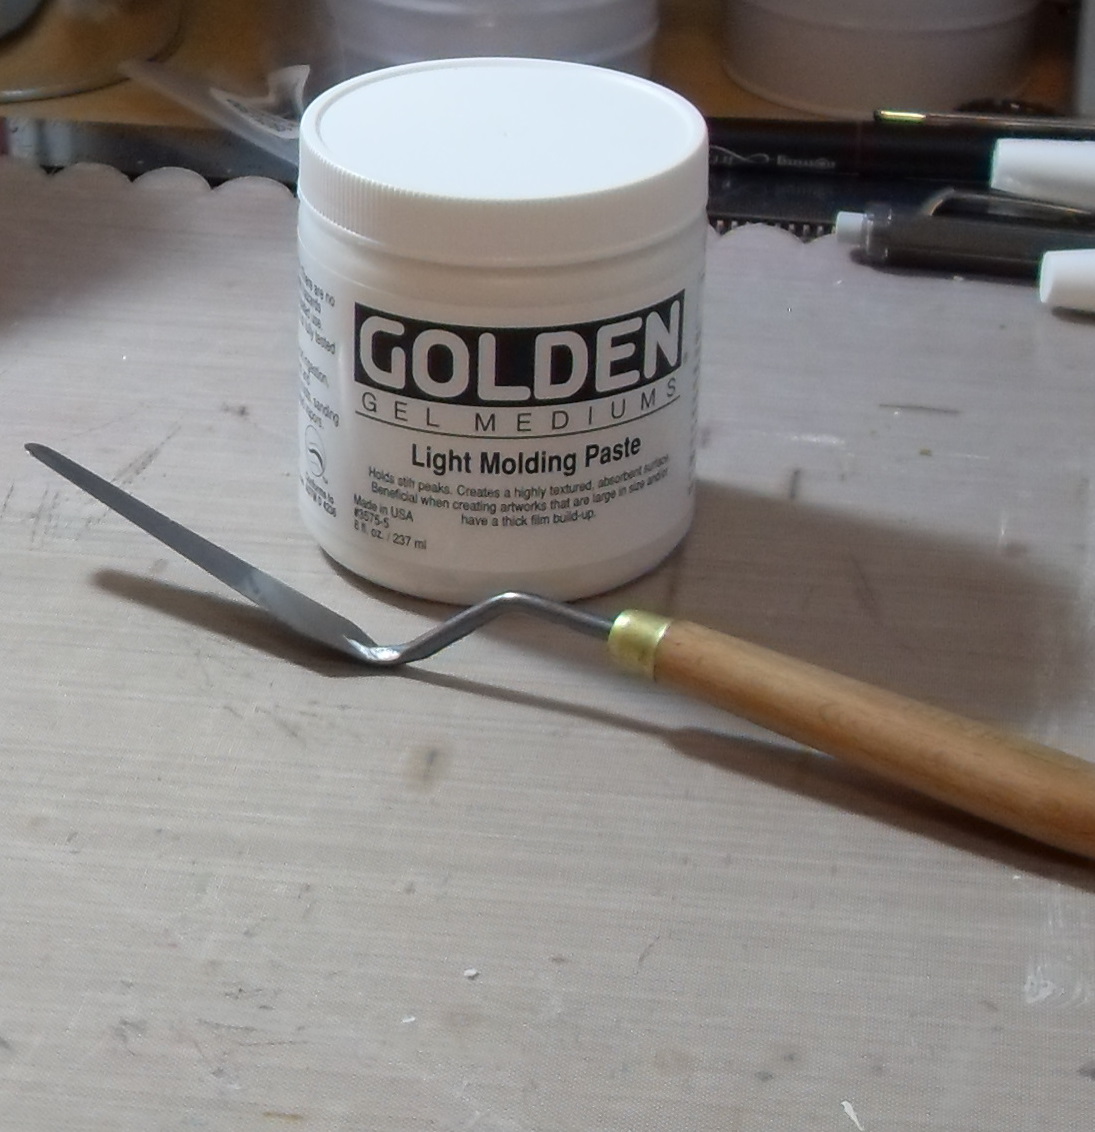
For this project you will also need Molding paste and a spatula.
Lay the stencils onto your project....in my case I have 2 cards and the beginnings of an art Journal page......the paste is like icing.....ice your stencils so the paste is even with the stencil.
Then carefully lift and set aside to dry.......depending on where you live it could take around 30 minutes to an hour.
When dry you can decorate with stamps and paint or glimmer mist.
Oh remember the cut out from the stencils? You can use those as masks! So double the duty! And fun! Here I layed the images down and used glimmer mist and misted! Cool!!
Then I just outlined the images with a black Pitt pen and a sentiment stamp. Done!!
The art journal page isn't quite finished or I would have that too......but I think you are getting the idea! Oh and one more thing.....why stop with paper....here are some other images on canvas fabric.....with some glimmer mist! Wow!
Could you just see these on cards.....scrapbook pages....or art journaling! The possibilities are unlimited!!
I hope you all were inspired to make some stencils and increase your creativity! Have a great day all! Bye......
Amylynne


WOWZERS! So FAB! LOVE the use of the stencils!!!
ReplyDeleteHi there!
ReplyDeletethankyou so much for stoppin by my little nook, your blog is so wonderful I pop by every now and again and get my catch up reading going!
you asked about my journal, I actually hand bound it, Its got a sewn canvas slip cover and its bound with linen thread with 4 signatures of 10 pages per signature.
xx Courtney
Wow, now I have something new to try! I'm worried about ruining my blades with materials like this though!
ReplyDeleteWow! very pretty!
ReplyDelete